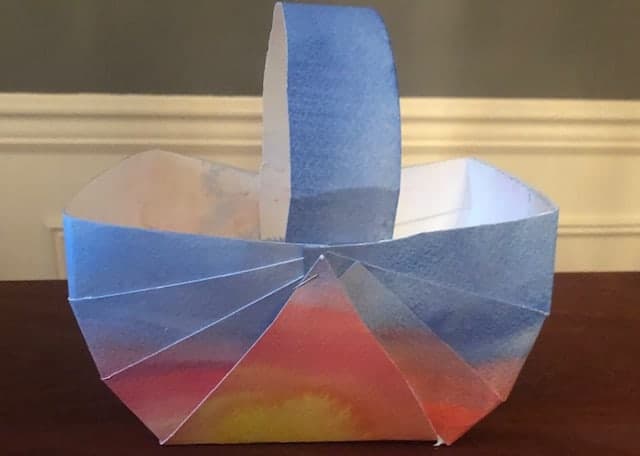
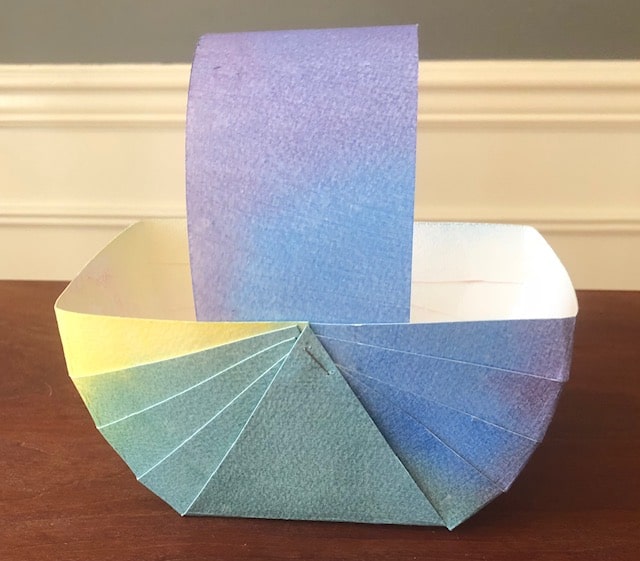
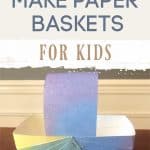
These sweet, simple baskets would be great for Easter baskets or to make just for fun. My kids like collecting and hauling their things around in these baskets. This tutorial will go over the supplies you need as well as detailed instructions on how to make paper baskets.
This is a great, kid-friendly project!
This post may contain affiliate links. Please see my full disclosure policy for details.
Supplies Need to Make Paper Baskets:
- Watercolor paper: I use Strathmore watercolor paper in 9 x 12 or 11×14.
- Watercolor paints: I use Stockmar watercolor paints and Stockmar paints (for wet on wet painting).
- Ruler
- Scissor
- Stapler, Tape or Glue
How to Make Paper Baskets:
I started by wet on wet watercoloring the paper for each basket.
If you don’t want to watercolor you could also color with crayons or just use colored construction paper.

- Watercolor and let dry overnight
- Flip paper over so white side is up
- Lay your paper down so the long side is running horizontally
- Make your handle by laying your ruler down on your paper one width wide. Draw a line down the paper. If this isn’t the size handle you want, adjust. In the images, my handle is thicker.
- Cut on the line for your handle and set aside.

- Then roughly fold your paper into thirds
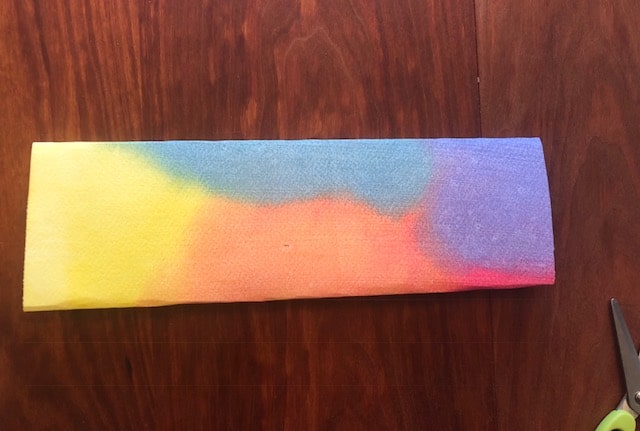
- Then fold into thirds again, it will look like a grid once you are done
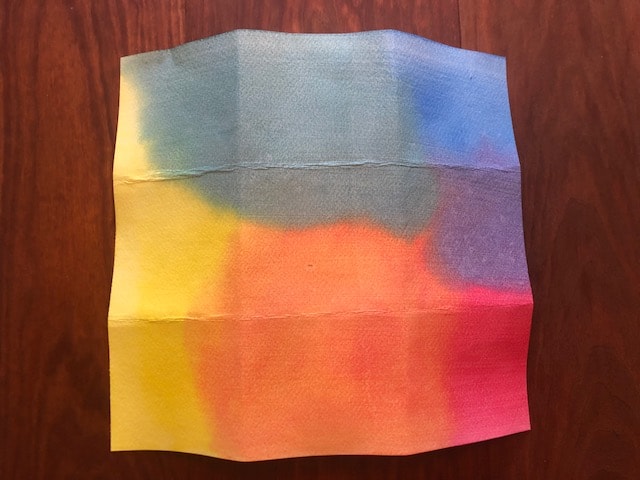

- With your paper lengthwise, cut alongside the grid lines as shown below. Leave the middle section uncut as that will be the bottom of the basket
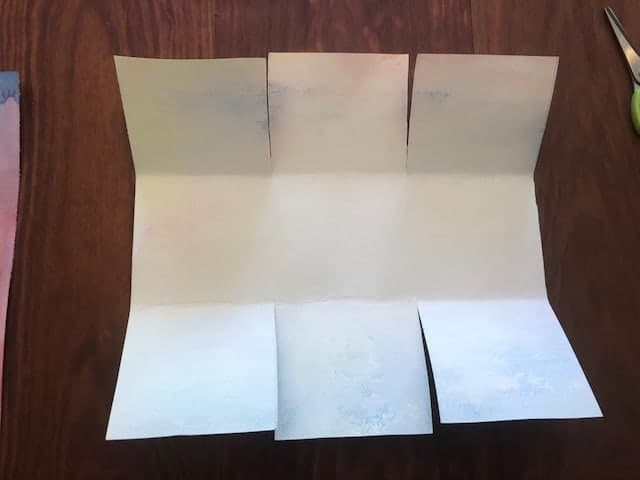
- Cut the outer grid squares in half again. At this point, you can cut into thirds or into fourths. This is how many flaps you will have on each end. I did fourths for my basket. It does require a bit more effort to keep it together vs doing thirds.
- Use your ruler to make a triangle on the middle grid on each side.
- Cut along the lines as shown below

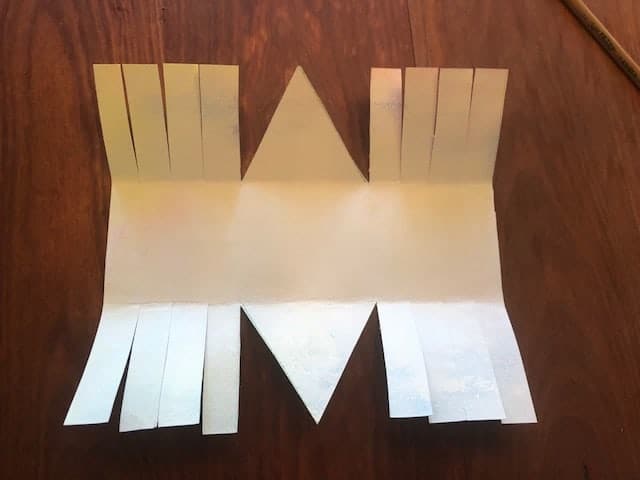
3 flap side on the left
4 flap side on the right
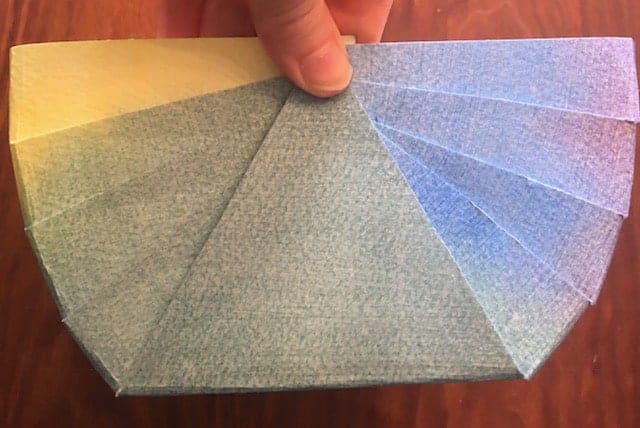
- Bring the flaps on one end together.
- Pull up the triangle which hides the edges of the flaps.
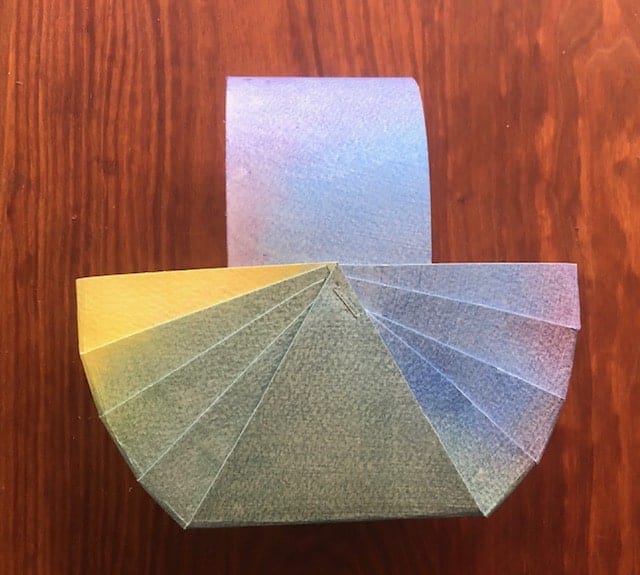
- Take your handle and insert it on the inside.
- Then fasten down. I found that having another person staple while I held was the only way to secure the 4 flaps on each side. You can also use tape or glue especially if you go with fewer flaps on the sides.
- Complete the other side.
- If you use a staple and want to cover it, you could cut out a half circle and glue it down over the staple.
Final Product:
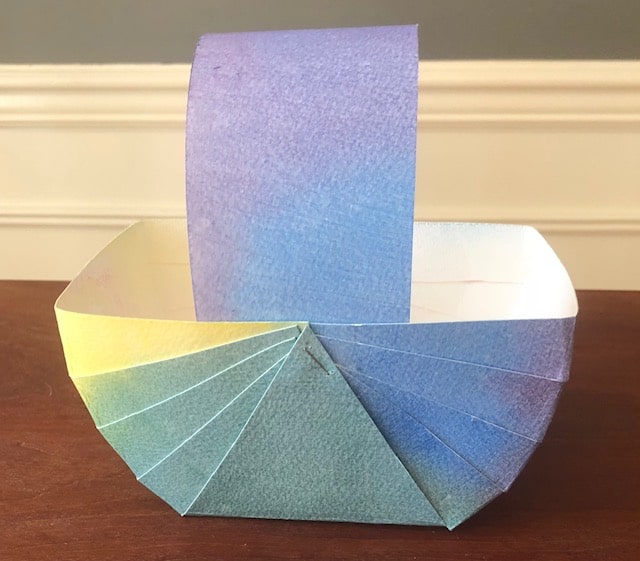

I hope you enjoy making paper baskets with your children. I would love to hear how it turned out!
Pin it for later!
